Insulated Jar Food: the perfect way to enjoy a hot meal on the go. But it’s more than just convenience – it’s a whole new world of culinary creativity! Whether you’re a seasoned meal prepper or new to the wonderful world of insulated food jars, we’ll explore everything you need to know about this versatile and convenient way to eat well, anywhere.
Why Insulated Jar Food?
Let’s be honest, packing lunch can get boring. Sandwiches get squished, salads get soggy, and microwaving leftovers just doesn’t hit the same. Enter, the insulated jar: your secret weapon for exciting, temperature-controlled meals that stay delicious for hours.
Benefits of Using an Insulated Food Jar:
- Keeps Food Hot or Cold: Enjoy piping hot soup on a chilly day or a refreshing chilled salad on a summer adventure.
- Preserves Freshness: Say goodbye to wilted greens and soggy sandwiches.
- Reduces Waste: Ditch single-use containers and embrace a more sustainable way to pack your meals.
- Saves Time and Money: Prepping meals in advance streamlines your routine and helps you avoid expensive takeout temptations.
- Endless Possibilities: From breakfast to dinner and everything in between, the possibilities for insulated jar meals are endless!
Choosing the Right Insulated Food Jar
Not all insulated jars are created equal. To ensure your culinary creations stay at their best, consider these factors when choosing a jar:
- Size Matters: Determine your typical portion sizes and choose a jar that accommodates your needs.
- Mouth Wide Shut: Opt for a jar with a wide mouth for easy filling, eating, and cleaning.
- Material Girl (or Guy): Stainless steel jars are durable and retain heat well, while glass jars are non-reactive and won’t absorb flavors.
- Leakproof Lid: Invest in a jar with a secure, leakproof lid to prevent messy mishaps.
Mastering the Art of Layering
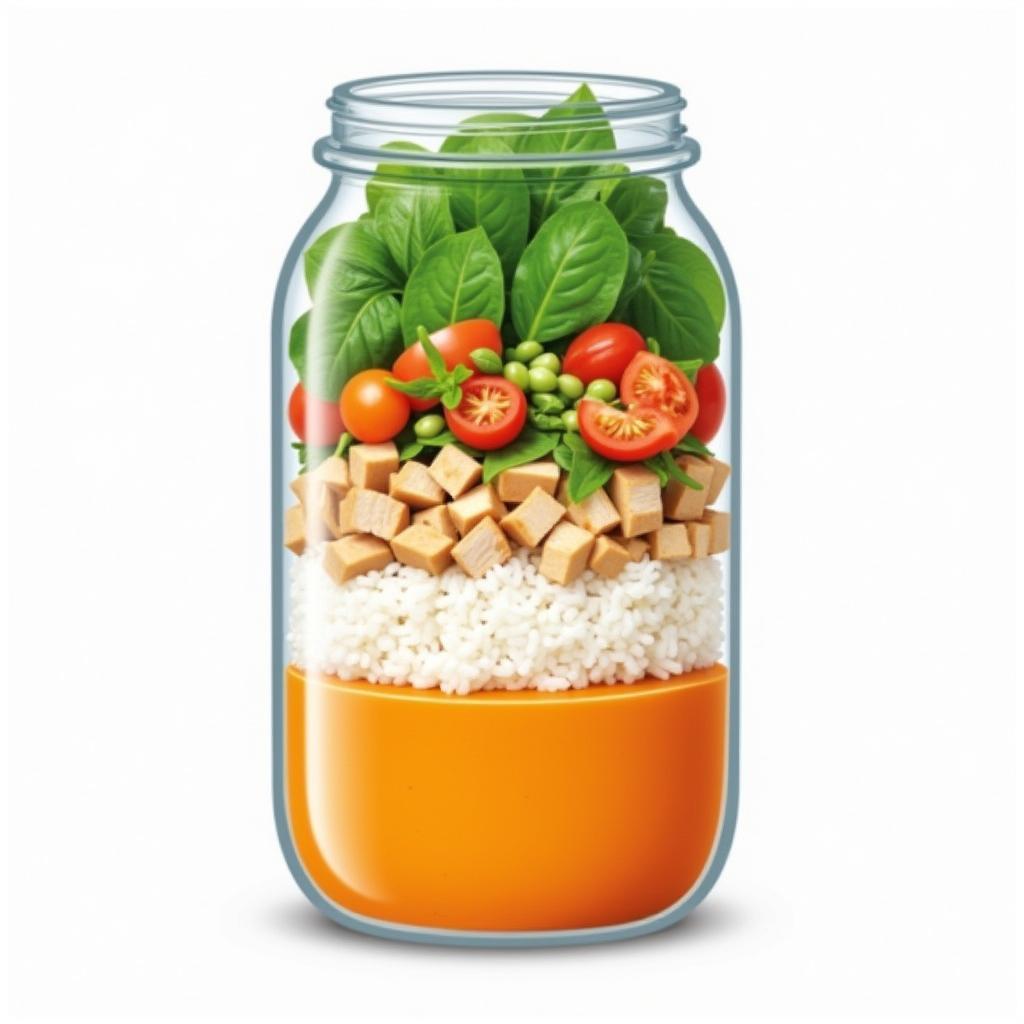
The key to a successful insulated jar meal? Layering! Proper layering ensures that flavors stay separate, textures remain intact, and your food heats (or cools) evenly. Here’s the general rule of thumb:
- Dressings and Sauces: Start with a base of dressing or sauce to prevent soggy ingredients.
- Hearty Veggies: Next, add firm vegetables that can withstand heat and moisture, like carrots, broccoli, or peppers.
- Grains and Starches: Create a barrier between veggies and more delicate ingredients with grains like quinoa, rice, or pasta.
- Protein Power: Layer cooked protein, like chicken, tofu, or beans, on top of your grains.
- Delicate Greens: Save the most delicate ingredients, like leafy greens and herbs, for the very top to prevent wilting.
 Layering Guide for Insulated Jars
Inspiring Insulated Jar Food Ideas
Need some culinary inspiration? Here are a few ideas to get you started:
- Overnight Oats: Wake up to a hearty and healthy breakfast of oats, yogurt, fruit, and nuts.
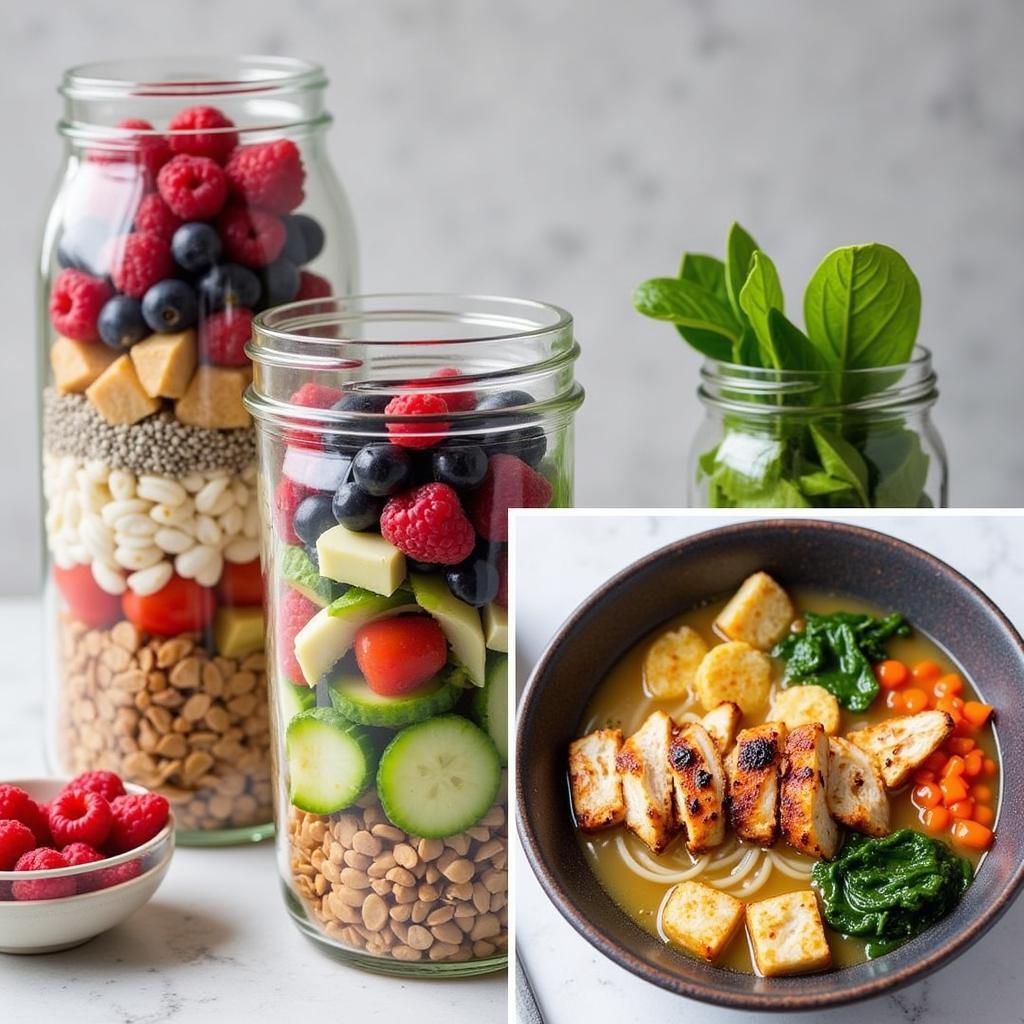
- Mason Jar Salads: Pack a refreshing and satisfying lunch with layers of greens, veggies, protein, and a flavorful dressing.
- Soup-erb Lunches: Enjoy a comforting bowl of soup on the go, like a creamy tomato soup or a hearty lentil stew.
- No-Reheat Noodle Bowls: Create flavorful and satisfying noodle bowls with rice noodles, veggies, tofu, and a zesty peanut sauce.
 Delicious and Colorful Insulated Jar Meals
Tips and Tricks for Insulated Jar Success
- Pre-heat or Pre-chill: For hot meals, preheat your jar with boiling water before filling. For cold meals, chill your jar in the fridge for a few hours.
- Chop It Up: Chop ingredients into bite-sized pieces for easier eating and better heat distribution.
- Don’t Overfill: Leave some space at the top of your jar to allow for expansion, especially for hot liquids.
- Pack It In: Pack your ingredients tightly to prevent shifting and create visually appealing layers.
- Get Creative: Don’t be afraid to experiment with different flavor combinations and ingredients!
Insulated Jar Food: Your Ticket to Flavorful Freedom
Insulated jar food offers a world of possibilities for enjoying delicious and convenient meals wherever you go. By mastering the art of layering and exploring creative flavor combinations, you can transform your relationship with food, one jar at a time. So, ditch the brown bag and embrace the wonderful world of insulated jar food!
Frequently Asked Questions (FAQs)
Can I put hot food directly into an insulated jar?
Yes, but it’s recommended to preheat your jar with boiling water for a few minutes before adding hot food to prevent cracking.
How long does food stay hot or cold in an insulated jar?
Most insulated jars can keep food hot for up to 6-8 hours and cold for up to 12 hours.
Can I microwave my insulated jar?
It’s generally not recommended to microwave insulated jars, especially those made of stainless steel. Check the manufacturer’s instructions for specific guidelines.
How do I clean an insulated food jar?
Most insulated jars are hand-wash only. Wash with warm, soapy water after each use and allow to air dry completely.
Are there any foods I should avoid putting in an insulated jar?
Avoid putting raw meat, seafood, or eggs in your insulated jar, as they may not reach a safe temperature for consumption.
What are some other great resources for insulated jar food ideas?
For more inspiration, check out our blog post on low carb picnic food or explore delicious recipes for food to bring to hotel without microwave or fridge.
What if I have other questions about insulated jar food?
No problem! We’re here to help. Contact our 24/7 customer support team at 02437655121, email us at minacones@gmail.com, or visit us at 3PGH+8R9, ĐT70A, thôn Trung, Bắc Từ Liêm, Hà Nội, Việt Nam.