Want to create realistic skin tones for cakes, cookies, or frosting? Achieving the perfect shade can seem tricky, but it’s totally doable with a bit of food coloring know-how! This guide will teach you how to make skin color with food coloring, covering everything from basic mixing techniques to achieving diverse and natural-looking shades. Let’s get started!
Understanding Food Coloring Basics
Before we dive into mixing, it’s helpful to understand the basic food coloring types:
- Liquid Food Coloring: The most common type, affordable and widely available. A little goes a long way!
- Gel Food Coloring: More concentrated than liquid, resulting in vibrant colors and less impact on your frosting’s consistency.
- Paste Food Coloring: Super concentrated and best for deep, rich colors. A little goes a very long way!
Mixing Skin Tones: The Primary Colors
Just like in painting, primary colors are our base for mixing realistic skin tones:
- Red: Adds warmth and depth
- Yellow: Creates the base skin tone
- Blue: Counteracts the yellow and adds realism
Pro Tip: Start with a tiny amount of each color and gradually add more until you reach your desired shade. It’s easier to darken a color than to lighten it!
Creating a Basic Skin Tone
Here’s a simple recipe to get you started:
- Start with your white frosting or fondant.
- Add a drop of yellow food coloring. This will be your base.
- Gradually add tiny amounts of red, mixing well after each addition, until you achieve a light peachy hue.
- Now, very carefully, add a tiny drop of blue. This will neutralize any overly yellow tones and create a more natural skin color.
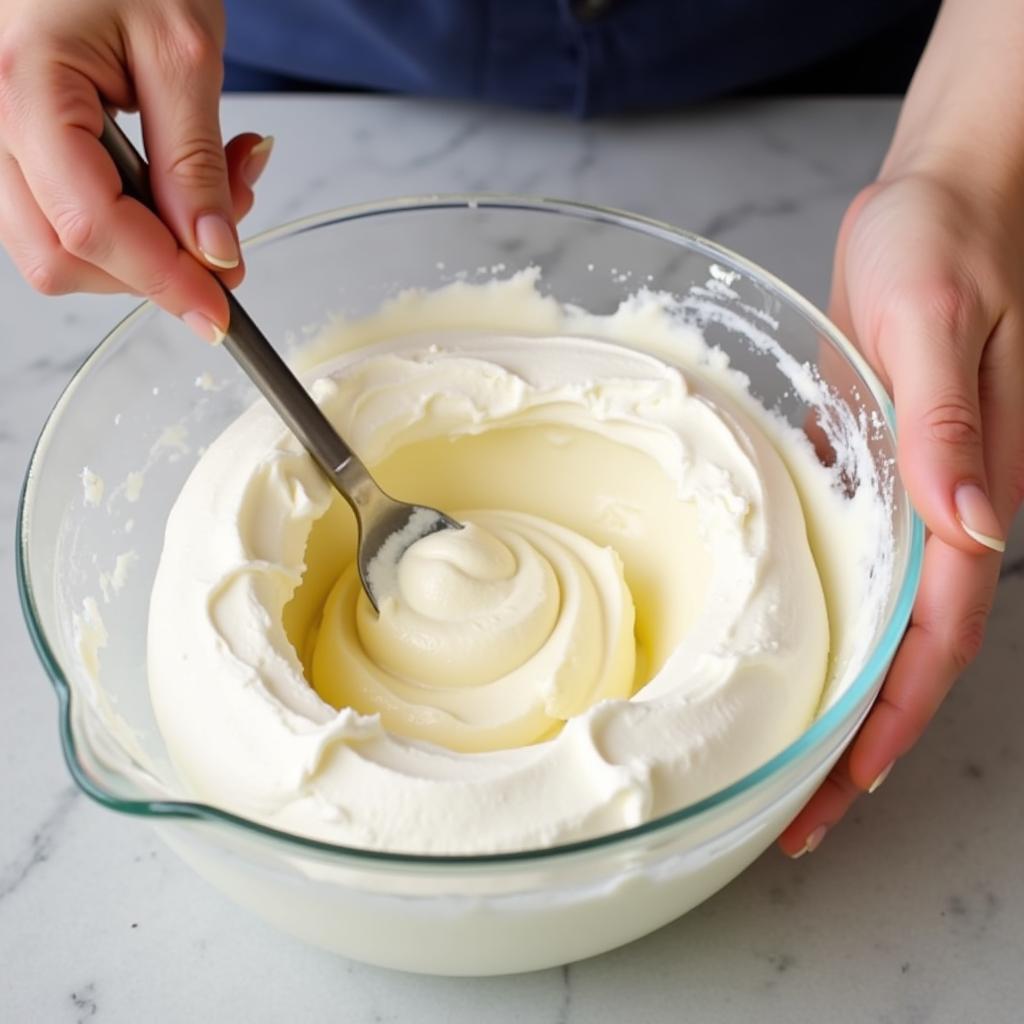
 Mixing Skin Tone Frosting
Fine-Tuning Your Shades
Once you’ve mastered the basic skin tone, you can adjust it to create a variety of shades:
- For lighter skin tones: Add more white frosting or fondant.
- For darker skin tones: Carefully add more red and blue, maintaining a balance to avoid an overly pink or orange hue.
- Adding depth: Incorporating a touch of brown or ivory can create more dimension and realism, especially for darker skin tones.
Achieving Realistic Skin Tones
Remember, skin tones are incredibly diverse! Here are some additional tips for achieving natural-looking results:
- Consider undertones: Skin can have warm (yellow or peachy) or cool (pink or olive) undertones. Experiment with adding a tiny touch of green for olive undertones or pink for rosy hues.
- Observe real skin: Look closely at the skin tones of people around you. Pay attention to the subtle variations and use them as inspiration.
- Practice makes perfect: Don’t be afraid to experiment and try different combinations until you achieve the desired results.
Conclusion
Learning how to make skin color with food coloring opens up a world of creativity in your baking! With a little practice and these helpful tips, you’ll be creating stunning and realistic skin tones for all your sweet treats.
FAQs
1. What if my skin tone is too pink?
Add a very small amount of green food coloring to neutralize the redness.
2. Can I use natural food coloring?
Yes, but natural food colorings might not be as concentrated or vibrant. Experiment to achieve your desired shades.
3. What’s the best way to avoid staining my hands?
Wearing gloves is always a good idea, especially when working with darker colors.
4. Can I save leftover colored frosting?
Absolutely! Store it in an airtight container in the refrigerator for up to a week.
5. Where can I find more inspiration for realistic skin tones?
Look at photographs, paintings, or even makeup tutorials for reference.
Need more help? Contact our team at Phone Number: 02437655121, Email: minacones@gmail.com, or visit us at 3PGH+8R9, ĐT70A, thôn Trung, Bắc Từ Liêm, Hà Nội, Việt Nam. We have a 24/7 customer service team!
Looking for more baking tips and tricks? Check out our other blog posts!