Shellacking food for display is a technique that allows you to preserve the vibrant colors and textures of your culinary creations, transforming them into eye-catching centerpieces. Whether you’re a professional baker showcasing your latest masterpiece or a home cook wanting to add a touch of artistry to your dinner party, understanding how to shellac food correctly can elevate your presentation to the next level.
Understanding Food Shellac and Its Applications
Food shellac is a food-grade resin derived from the secretions of the lac bug. Don’t worry, it’s completely natural! This resin is processed and purified to create a clear, glossy coating that’s safe for use on food. It acts as a protective barrier, preventing moisture loss and preserving the food’s appearance. But before you start dipping everything in shellac, it’s crucial to choose the right foods and understand the limitations.
Choosing the Right Foods for Shellacing
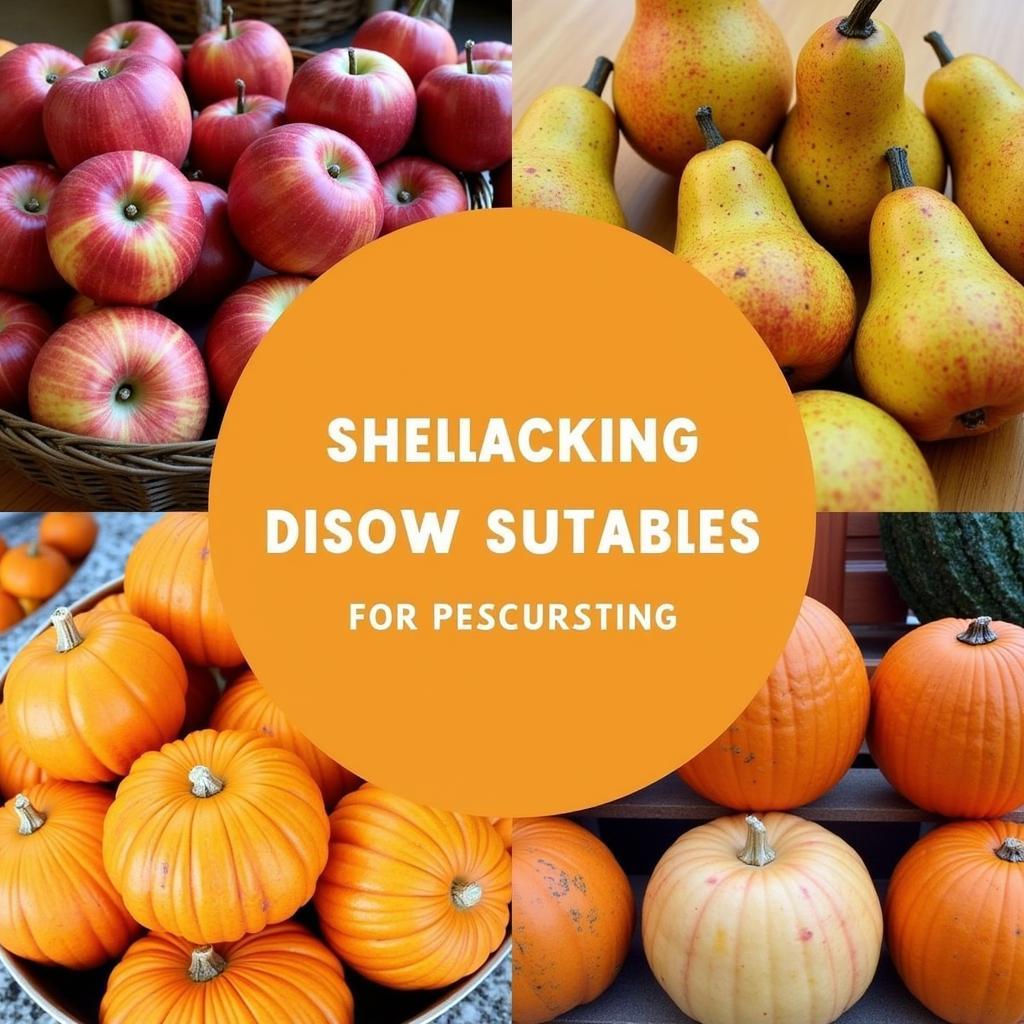
Not all foods are suitable for shellacking. Ideally, you should choose firm, dry items that won’t wilt or decompose quickly. Fruits like apples, pears, and citrus fruits are excellent candidates, as are vegetables like pumpkins, gourds, and certain root vegetables. Baked goods, such as decorative cookies and cakes, can also be shellacked for long-lasting displays. Avoid shellacking delicate items like berries or leafy greens, as they will likely deteriorate under the coating.
 Suitable Foods for Shellacing
Is Shellacing Food Safe?
Absolutely! Food-grade shellac is non-toxic and safe for consumption. However, it’s generally recommended to use shellacked items for decorative purposes only. While technically edible, the shellac coating doesn’t add any flavor and can have a slightly waxy texture. Think of it as a food-safe varnish that enhances visual appeal rather than a culinary ingredient.
A Step-by-Step Guide on How to Shellac Food for Display
Now that you understand the basics, let’s dive into the process of how to shellac food. Follow these steps to achieve a professional, polished finish:
- Prepare your food: Ensure your chosen food items are clean and dry. Remove any dirt, debris, or excess moisture.
- Choose your shellac: Food-grade shellac is readily available online or in specialty baking supply stores. It typically comes in liquid form or as flakes that you dissolve in alcohol.
- Apply the shellac: Using a clean brush or a spray bottle, apply a thin, even coat of shellac to the surface of your food. Avoid drips and puddles.
- Drying time: Allow the shellac to dry completely in a well-ventilated area. This may take several hours, depending on the humidity and temperature.
- Second coat (optional): For a more durable and glossy finish, apply a second coat of shellac once the first coat is dry.
“When shellacking delicate items, it’s crucial to use a light touch and multiple thin coats rather than one thick coat,” advises renowned pastry chef, Anya Dubois. “This prevents the shellac from pooling or creating an uneven surface.”
Tips for Achieving a Professional Finish
- Practice makes perfect: Start with simpler items before tackling complex shapes.
- Thin coats are key: Avoid applying thick coats of shellac, as this can lead to a cloudy or uneven finish.
- Ventilation is essential: Always work in a well-ventilated area to avoid inhaling the fumes from the shellac.
- Proper storage: Store shellacked food items in a cool, dry place away from direct sunlight.
Conclusion: Preserve and Showcase Your Culinary Creations with Shellac
Learning How To Shellac Food For Display opens up a world of creative possibilities. Whether you’re a seasoned chef or a passionate home cook, this technique allows you to showcase your culinary creations in a unique and captivating way. By following these simple steps and practicing with different food items, you can transform ordinary ingredients into stunning works of art.
 Shellacked Food Display
FAQ
- How long does shellacked food last? Shellacked food can last for several months, even years, if stored properly.
- Can I shellac any type of food? No, some foods are not suitable for shellacking. Stick to firm, dry items.
- Is food shellac expensive? No, food-grade shellac is relatively inexpensive and readily available.
- Can I remove the shellac from food? While not designed for removal, it can be gently scraped off.
- What is the best way to apply food shellac? Brushing or spraying are the most common methods.
- Can I use shellac on chocolate? Yes, but ensure the chocolate is tempered and dry.
- Where can I buy food-grade shellac? Specialty baking supply stores or online retailers.
“Remember, the key to successful shellacking is patience and attention to detail,” reminds Chef Dubois. “With a little practice, you’ll be able to create stunning food displays that will impress your guests and showcase your culinary artistry.”
Need assistance? Contact us at Phone: 02437655121, Email: [email protected] Or visit us at: 3PGH+8R9, ĐT70A, thôn Trung, Bắc Từ Liêm, Hà Nội, Việt Nam. We have a 24/7 customer service team.