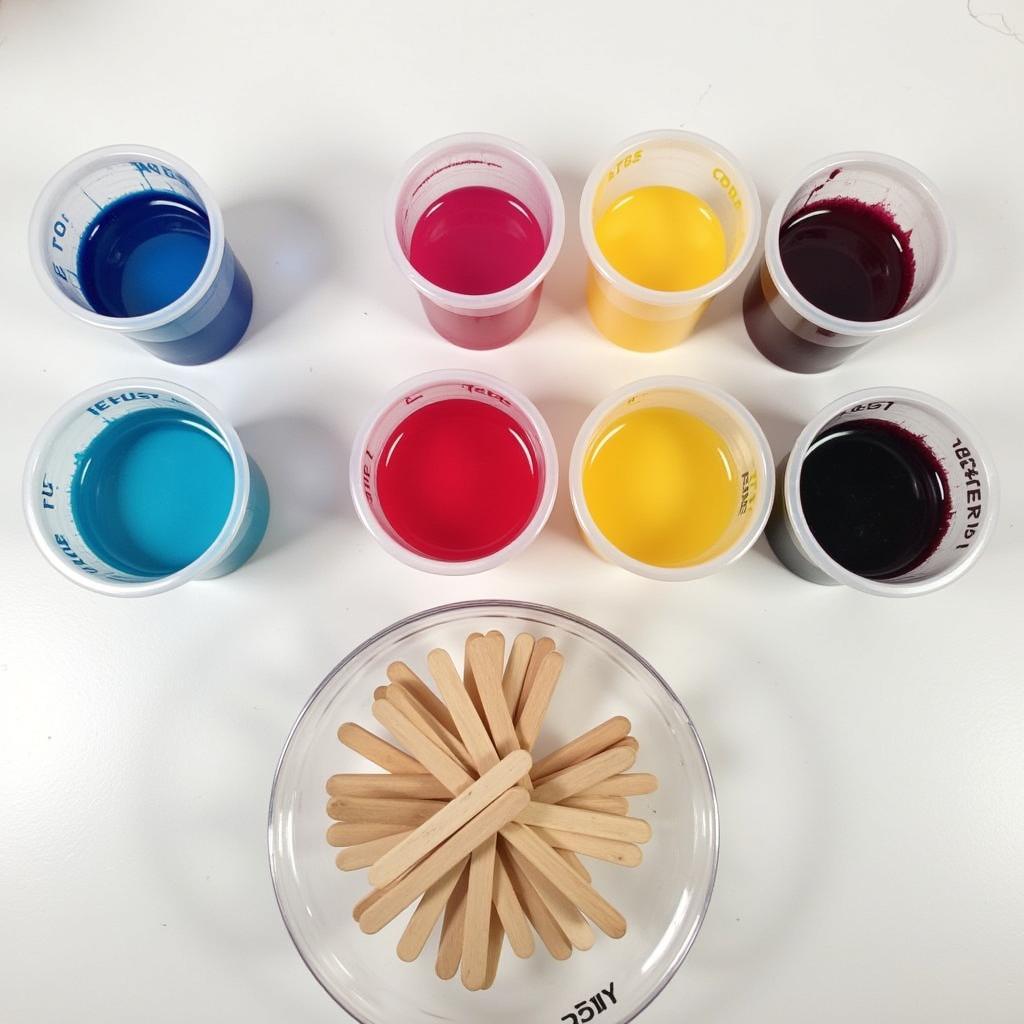
Dyeing popsicle sticks with food coloring opens up a world of vibrant crafting possibilities. Whether you’re creating whimsical puppets, building miniature houses, or adding a pop of color to your DIY projects, learning how to dye popsicle sticks is a simple yet effective way to elevate your creations. This guide will walk you through the process step-by-step, ensuring your popsicle sticks transform into colorful masterpieces.
Choosing the Right Materials for Dyeing Popsicle Sticks
Before we dive into the dyeing process, let’s gather our supplies. Choosing the correct materials is crucial for achieving vibrant and long-lasting color. You’ll need:
- Popsicle Sticks: Opt for natural, unfinished wooden popsicle sticks. These absorb color best.
- Food Coloring: Liquid food coloring is ideal for this project. Gel food coloring can also be used, but it may require a bit more mixing to achieve a smooth consistency.
- Water: Warm water helps the dye penetrate the wood more effectively.
- Containers: Use separate containers for each color you plan to create. Small glass jars or plastic cups work well.
- Gloves (optional): While food coloring is generally safe, gloves can prevent stained fingers.
- Paper Towels: For drying the dyed popsicle sticks.
- White Vinegar (optional): Adding a tablespoon of vinegar per cup of dye solution can help set the color and make it more vibrant.
Step-by-Step Guide: How to Dye Popsicle Sticks with Food Coloring
Ready to transform those plain popsicle sticks into colorful wonders? Here’s a detailed guide to dyeing popsicle sticks with food coloring:
- Prepare the Dye Solution: In each container, mix warm water with food coloring. The more food coloring you add, the more intense the color will be. Experiment with different ratios to achieve your desired shades. Consider adding a tablespoon of white vinegar to each cup of dye solution to help the color set.
- Submerge the Popsicle Sticks: Carefully place the popsicle sticks into the dye solution, ensuring they are fully submerged. Avoid overcrowding the container, as this can lead to uneven coloring.
- Soaking Time: The soaking time will depend on the desired color intensity. For lighter shades, soak for 30 minutes to an hour. For deeper, more vibrant colors, soak for several hours or even overnight. Check the color periodically.
- Remove and Dry: Once the popsicle sticks have reached your desired color, carefully remove them from the dye solution using tongs or your gloved hands. Lay them flat on a paper towel-lined surface to dry completely.
 Popsicle sticks submerged in various colored dyes
Tips and Tricks for Perfect Popsicle Stick Dyeing
Want to take your popsicle stick dyeing to the next level? Here are a few expert tips to help you achieve professional-looking results:
- Test Your Colors: Before dyeing a large batch of popsicle sticks, experiment with a few to test the color intensity and soaking time.
- Create Ombre Effects: Dip only a portion of the popsicle stick into the dye to create a gradient or ombre effect.
- Mix Colors: Don’t be afraid to mix different food coloring colors to create custom shades.
- Use Natural Dyes: For a more eco-friendly approach, consider using natural dyes like beet juice for pink or turmeric for yellow.
“When working with younger children, consider using disposable containers for easier cleanup,” advises Sarah Miller, a seasoned craft instructor. “Also, lay down newspaper or a plastic tablecloth to protect your work surface.”
Exploring Creative Applications for Dyed Popsicle Sticks
Now that you have a collection of beautifully dyed popsicle sticks, the creative possibilities are endless. Use them to build miniature furniture, create vibrant picture frames, or design unique jewelry. Dyed popsicle sticks can even be used in educational activities, like creating colorful math manipulatives or spelling aids.
“Remember, the beauty of this craft lies in its simplicity and versatility,” says John Davis, a renowned DIY enthusiast. “Let your imagination run wild and see what unique creations you can bring to life!”
Conclusion
Dyeing popsicle sticks with food coloring is a fun and easy way to add a splash of color to your crafts. By following these simple steps and experimenting with different colors and techniques, you can transform ordinary popsicle sticks into vibrant works of art. So gather your supplies and unleash your inner artist – the possibilities are as limitless as your creativity!
FAQs
- Can I use gel food coloring? Yes, but you may need to mix it more thoroughly to achieve a smooth consistency.
- How long should I soak the popsicle sticks? Soaking time varies depending on desired color intensity, from 30 minutes for lighter shades to several hours for deeper colors.
- Can I reuse the dye solution? Yes, you can reuse the dye solution for a lighter shade on another batch of popsicle sticks.
- What can I do with dyed popsicle sticks? Use them for various crafts like building miniature furniture, creating picture frames, or designing jewelry.
- How can I achieve an ombre effect? Dip only a portion of the popsicle stick into the dye for a gradient or ombre effect.
6.. What should I do if the food coloring stains my hands? Wash your hands thoroughly with soap and water. You can also try rubbing your hands with lemon juice or baking soda. - Are there any alternatives to food coloring for dyeing popsicle sticks? Yes, you can use natural dyes like beet juice or turmeric.
Need More Help?
For further assistance with your popsicle stick dyeing adventures, explore other articles on our website, such as “Creative Popsicle Stick Crafts for Kids” and “Advanced Popsicle Stick Building Techniques.”
When you need support, please contact us at Phone Number: 02437655121, Email: minacones@gmail.com Or visit us at: 3PGH+8R9, ĐT70A, thôn Trung, Bắc Từ Liêm, Hà Nội, Việt Nam. We have a 24/7 customer service team.